Tap the Settings tab in the TAB Bar to display the "Settings" screen. Here you can configure AstroGold with your preferred chart points and aspects etc, plus export your charts. Tap on the setting you want to view or change.
|
 Settings screen |
Displayed Chart Points
Allows selection of which chart points are shown in charts and reports.
Tapping on any point toggles it or off (turns it on if it was previously off, and turns it off if it was previously on). When it's on it has a tick to the right of its name and no tick when it's off, plus it is very faint text when it's off.
Tapping on the Edit button in the top right corner of the "Displayed Points" screen allows you to change the order the points in which points are displayed in aspect grids etc. To change the order just drag the point (by the three gray horizontal bars to the right of the point name) to the position in the list where you want it - tap on the Done button in the Toolbar when you have finished editing.
To exit the "Displayed Points" screen tap on < Settings in the top left corner of the screen.
Points available:
•The Moon
•The Sun
•Vulcan
•Mercury
•Venus
•Mars
•Jupiter
•Saturn
•Uranus
•Neptune
•Pluto
•Chiron
•Vesta
•Pallas
•Juno
•Ceres
•Hygeia
•Astrea
•North Node
•South Node
•Ascendant
•Midheaven
•Vertex
•The Equatorial Ascendent
•Part of Fortune
•Cupido
•Hades
•Zeus
•Kronos
•Apollon
•Admetos
•Vulcanus
•Poseidon
•TransPluto
•Lilith
•The CoAscendant
•The Polar Asc
•The Descendent
•The Imum Coeli
•Aries Point
•Libra Point
•The White Moon
•Sedna
•Eris
The Lilith available is the Black Moon Lilith, and the White Moon is also know as Selena (see Calculation Methods)
Aspected Chart Points
Allows selection of which chart points have aspect lines shown in the central circle of a wheel, as well as whether or not they appear in aspect reports. Tapping on a point toggles its selection on and off (turns it on if it was previously off, and turns it off if it was previously on). When it's on it has a tick to the right of its name and no tick when it's off, plus it is very faint text when it's off.
Aspects
Allows selection and editing of aspects sets and individual orbs for different aspect types. See here for all the info.
Wheels & Colors
Allows selection of planet colors, sign glyph colors, sign fill colors, aspect colors, uni/bi/triWheel styles, background style, and other display on/off options for: proportional houses, aspect lines, aspect glyphs and shadowed glyphs. See here for more info.
Chart Calculations
Allows selection of zodiac type, house system, lunar node types, and various items related to chart calculation - see here for more info.
Dynamic Jobs
Allows selection and editing of preset dynamic job types. Note that the default report start date and duration which are set in this option can be overridden in the Reports view for the sake of quick adjustments. Other items that may be set are the transiting points, radix points and aspects included in the report, as well as a few optional extra event types which may be included in the reports. See here for all the info.
Home and Atlas
The location entered here is the one used as the basis (default) for any instant "Here and Now", or "Natal Location" transits charts that are created, as well as the being the default location for various other types of charts.
Usually you want transit type charts to be for your home location, and if so that is what you would enter here.
|
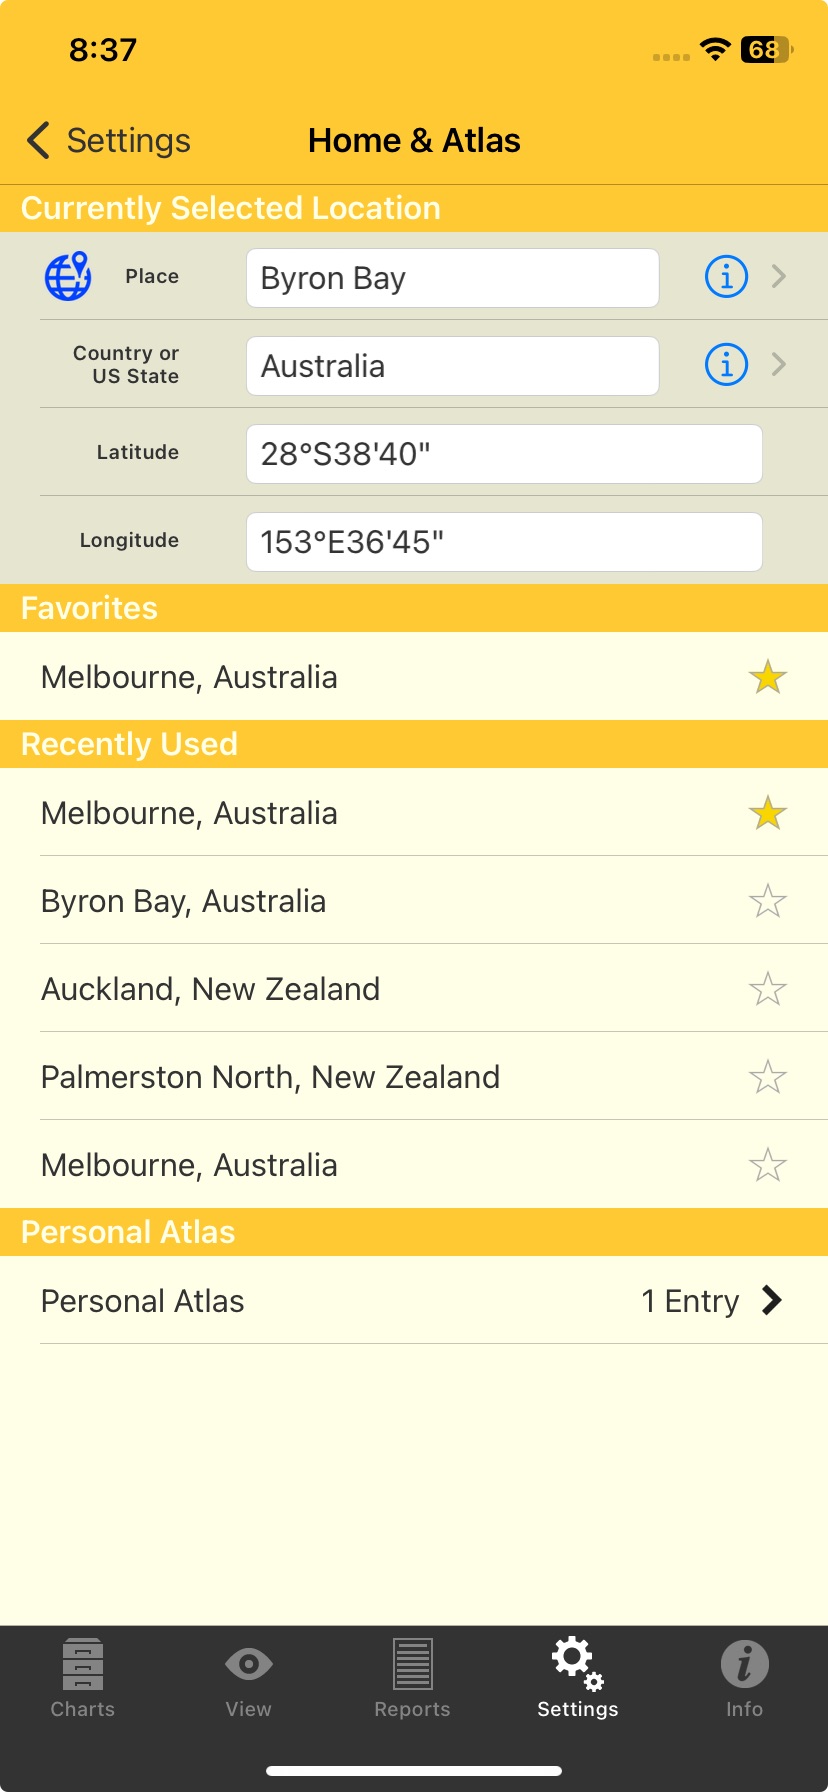 |
>> Entering the Home address
1.You can do this in one of two different ways.
a.Directly: manually entering in the "Currently Selected Location" section data (or using the associated look-up methods for doing so).
b.Indirectly: using one of the alternative "auto selection" methods to fill in the "Currently Selected Location" section data
2.Directly entering the Home address by either:
a.Typing in the Place, Country or US State, Latitude and Longitude textbox manually
-OR-
b.For the Place, and Country or US State fields, tap on the  to the right of either textbox. This will dropdown a list of Towns/Cities or Countries, respectively, to choose from.
-OR-
c.Tap the  icon to the left of the "Place" field. This will open the Google Maps screen where you can select Place, Country/State, Latitude and Longitude visually (see Google Maps for how to use this functionality).
3.Indirectly entering the Home address:
a.Selecting either the current "Natal" or "Home" location, from the respective sections
b.In the Favorites section selecting a "Favorite" location
c.In the "Recently Used" section selecting the location of one of the Recently Used charts
d.In the "Personal Atlas" section selecting a location saved in your personal Atlas: tap on the > icon to open the Atlas, then tap on a location in the list
e.When you have finished entering or selecting a location to use for the subsidiary chart, tap on < Cast Transits at the top left of the screen
>> Viewing and Deleting Places in the Personal Atlas
•Also in the "Home & Atlas" screen (see above) you can access places in the Personal Atlas. In the "Personal Atlas" section tapping on the > to the right of the number of entries opens the "Personal Atlas" screen.
•Tapping on the Info icon to the right of a place will display the "Place Details". If that's all you want to do in Personal Places tap on < Home at the top left of the screen.
•In the "Personal Atlas" screen tapping on the Edit button in the top right corner will allow you to delete the currently selected place by tapping on the Delete button that appears next to each place. To not delete any places, or when you're finished doing so, tap on < Home at the top left of the screen.
 Personal Atlas |
 Personal Atlas Place Details |
 Person Atlas entries for deleting |
Export Chart Files
Creates and sends an email with any selected chart file attached, for use or storage on another computer. To select a chart file tap on it until it becomes ticked, to un-select one tap on it till it becomes un-ticked. You can select as many chart files to email as you want. When you have selected the chart file(s) you want to send click on the Send button in the Toolbar. The chart file(s) is(are) then attached to an email which you can subsequently add your own text to etc, and then send to whatever email address(es) you wish. When you have you will be returned to this screen.
To exit from this screen click the Done button in the Toolbar.
iCloud Drive:
Chart files can now optionally be stored on the internet in iCloud Drive. All your devices can access the same chart files which are automatically kept in synch, and remain there even if you delete Astro Gold off your phone or tablet.
1)You must have iCloud enabled for the device(s) on which you want to use this feature, following each app's prompts to switch to iCloud Drive. In particular note that you must sign on to the "iCloud Drive" with the identical Apple ID on each device you want to use this feature.
2)The first device on which you enable this feature will be the one whose chart files are moved onto iCloud. When you enable this feature on any other devices later on, they will lose access to their own local chart files, and instead link to the chart files moved across to the cloud from the first device that was enabled to store its files on iCloud Drive.
3)You are able to switch back to storing chart files locally whenever you wish, using this setting. If you choose to do this then Astro Gold will have the option of restoring all its original chart files so they can be accessed locally as they were originally, or instead creating a local copy of all the chart files on iCloud Drive at that point in time, that are then accessed (and added to etc) locally from that point onwards. A copy of these chart files will still remain on iCloud Drive though, but Astro Gold will no longer be connected to them.
<< To enable chart files to be stored on the internet in iCloud Drive
•Tap on iCloud Drive Disabled, then tap on Switch to iCloud
<< To enable chart files to be stored locally on the device
•Tap on iCloud Drive Enabled, then tap on Switch to Local
<< How many charts can be stored on the iCloud Drive?
You can store up to 5GB of data for free on your iCloud Drive. This includes all of your files, not just Astro Gold. You may need to pay for extra storage. However please note that each Astro Gold chart takes up only about 200 bytes of stores, even a chart file with 1000 charts would only take about 0.2MB of storage. Hence in practical terms any extra storage space requirement is more likely to be prompted by your other file types.
iCloud Drive Enabled/Disabled
This allows you to switch between storing your Astro Gold chart files locally on your device, or on iCloud Drive (which means they will be stored on the internet instead).
Dark Mode Automatic/On/Off
AstroGold supports Dark Mode on versions of iOS 13+. Tapping on this setting opens this screen:
|
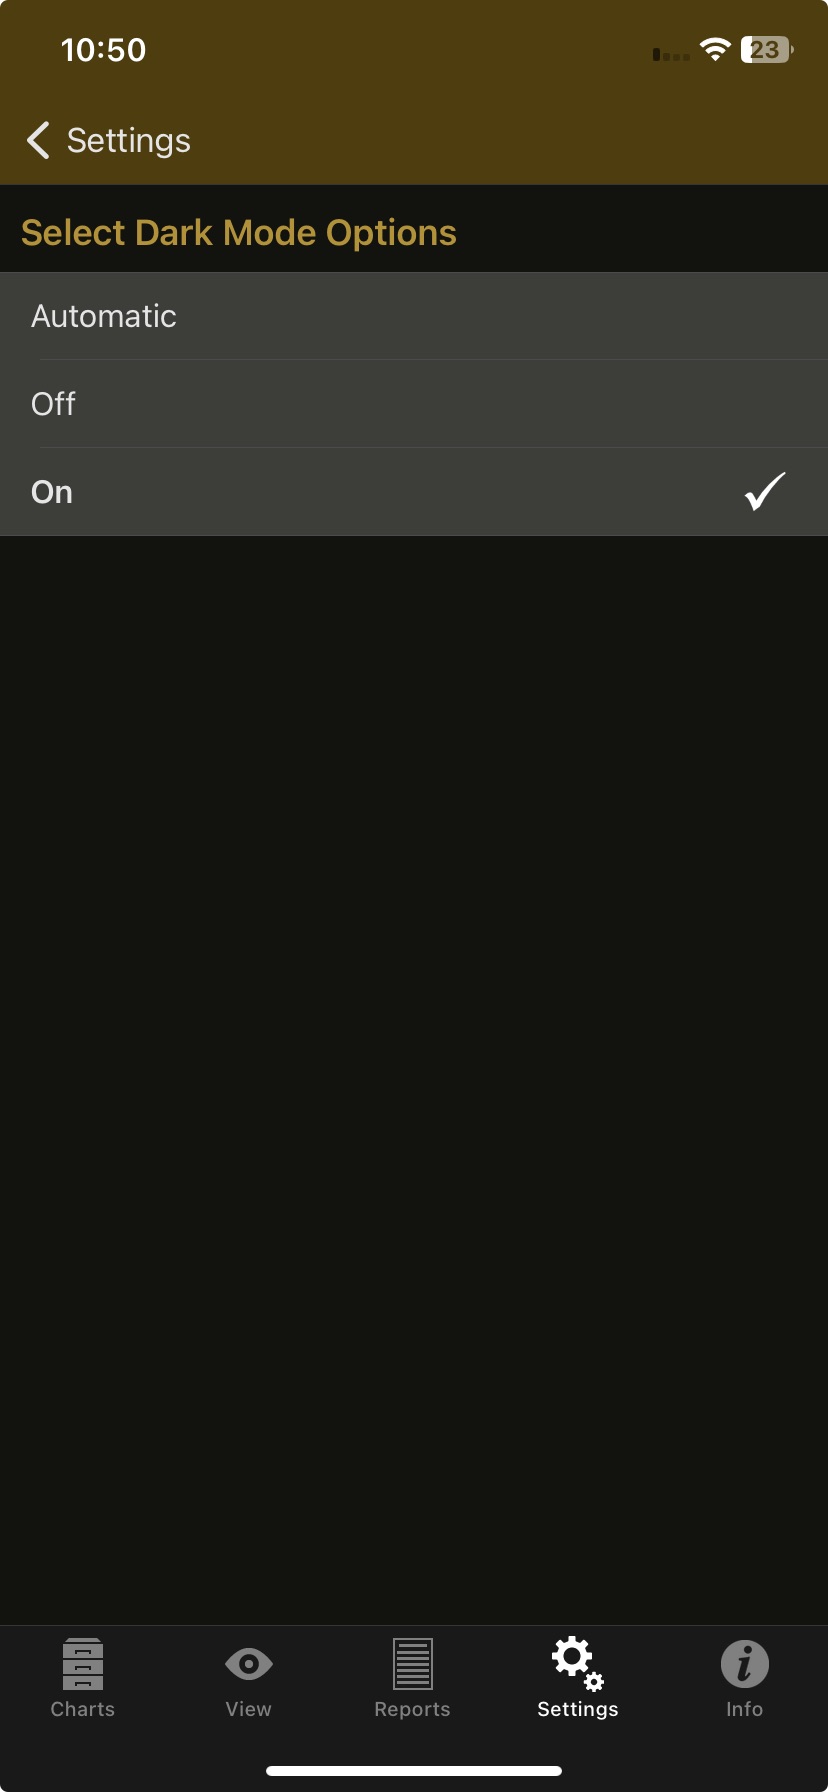 |
There are three options:
1)Automatic: when this is set Astro Gold will adopt the same dark mode setting as that in the device's general settings.
2)Off: regardless of what dark mode setting is in the device's general settings, Astro Gold will always function with dark mode turned off.
3)On: regardless of what dark mode setting is in the device's general settings, Astro Gold will always function with dark mode turned on.
Gold Level
This shows the Astro Gold level you currently have - tapping on it will display a message with that information (if you have been using the free trial app and it has expired you will also see Unlock Gold Level Features so if you want that, tap on that).
You can then choose any of the following options that are available to you:
•7 Day free trial - you can try all the Gold Level features for a week without any commitment or any need to cancel. The trial is available to you once only and expires automatically 7 days after it is activated. Once expired, you will have to choose one of the paid options below in order to re-obtain access to all the Gold Level features.
| The 7-day trial is not related to any subscription or purchase option. Once the trial period is over, your app access will automatically revert back to the Basic Level features of Astro Gold. You will not incur any charges. After the trial ends, if you wish to obtain access to the Gold Level features again, you will need to purchase a specific subscription or the lifetime access option. |
•Yearly or Monthly subscription - provides access to all of the Gold Level Features, being automatically re-billed each month until you choose to change or cancel via your phone's Settings: / Apple Account (usually the first item in the Settings screen) / Subscriptions.
•Lifetime access - this is the best deal for long term users. For a one-time fee you will get unlimited lifetime access to the Gold level features.