Professional Reports are high quality interpretation reports, also designed to be very easy to read. Therefore they are suitable for an astrology practitioner to distribute to clients, or if you are not practicing astrology professionally they make excellent gifts.
>> To see Professional Reports for a single chart or for two charts
1)Tap on the Charts tab
2)Tap the 1 Chart button to use only a single chart (no relationship report will be available), or the 2 Charts button to use two charts.
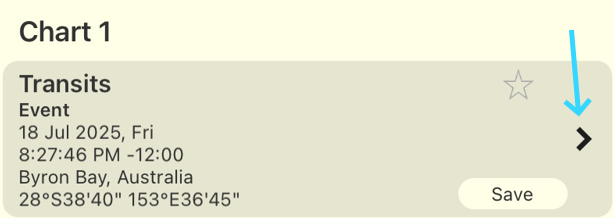
3)Optionally in each position select a different chart by tapping the > icon in the details panel for the chart to access the options for selecting that chart (see Chart & Chart File Options for more info).
|
4)Once you have the chart(s) you want selected in the "Selected Charts" screen tap the Reports tab, then the Reports menu icon  in the Toolbar (top right of the screen) which will display the Report Types.
5)Tap on Professional Reports.
The following screen appears showing the various items available for professional reports. Tap on the > to the right of an item to view it.
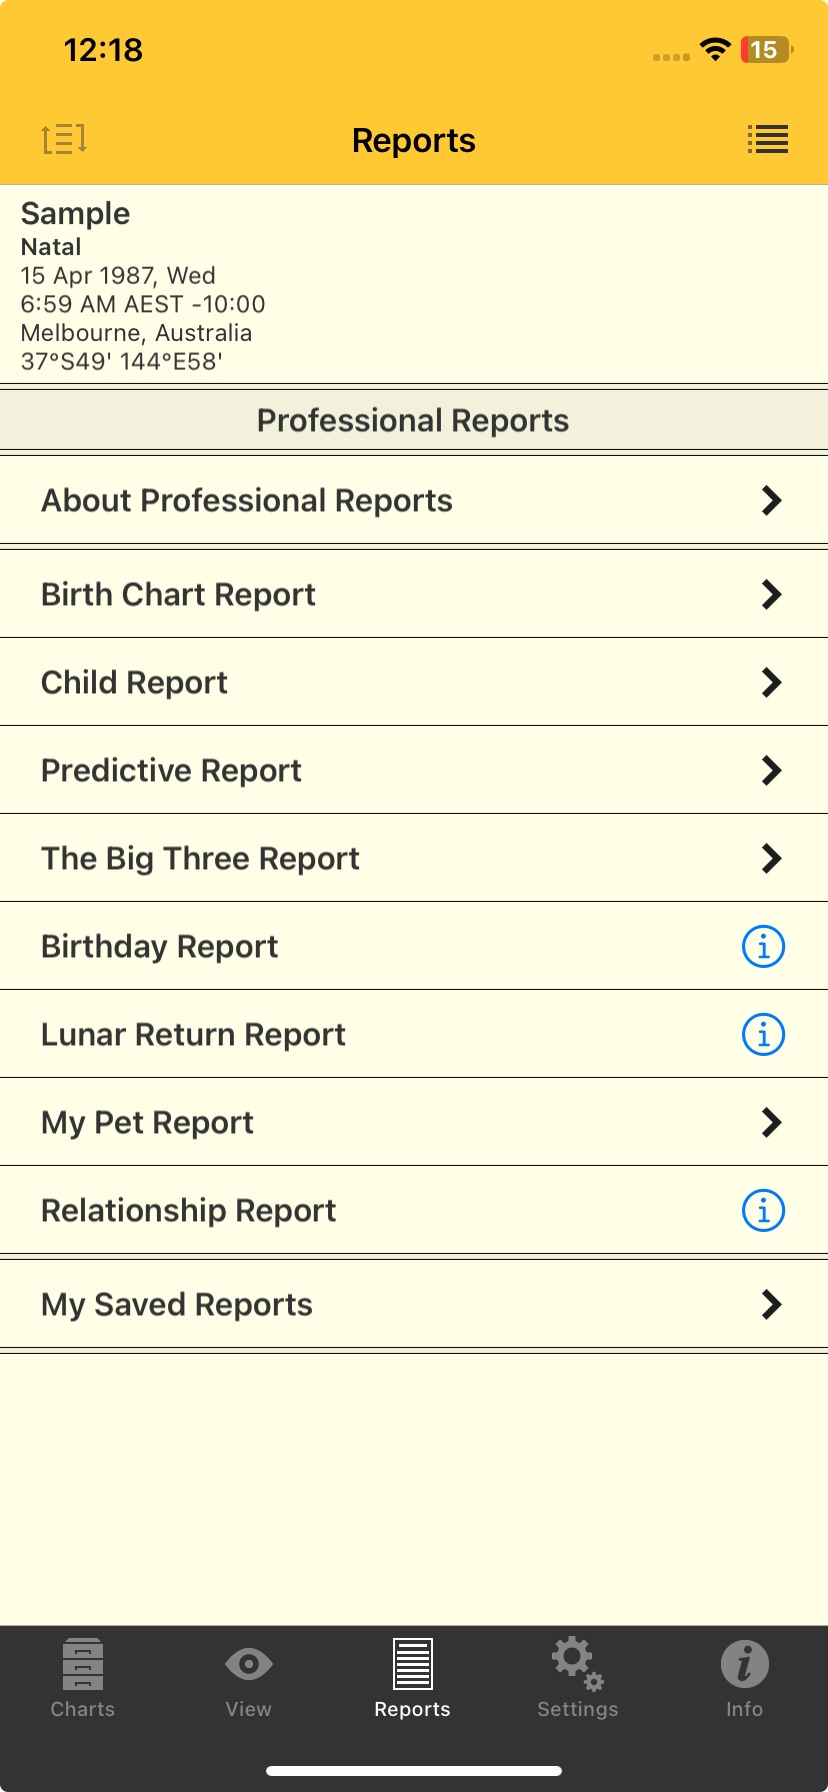 |
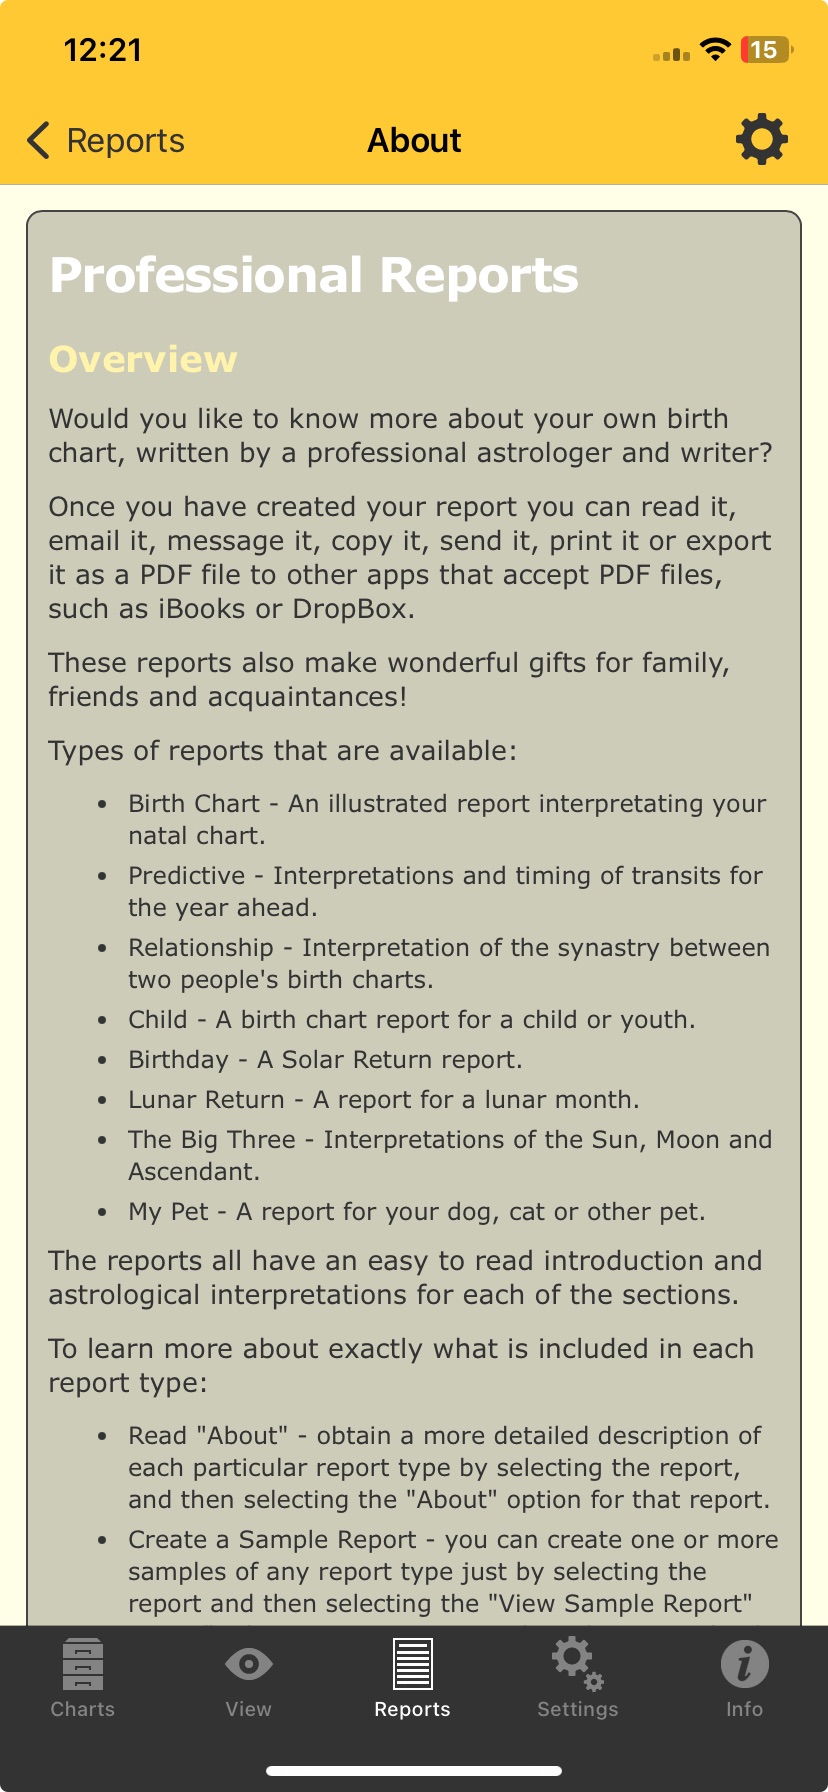
1.About Professional Reports
This displays the following screen, which describes what a professional report is and the various things you can do with it. Swipe up and down to see all the pages.
 |
This displays the "Birth chart Report" screen, with the following options.
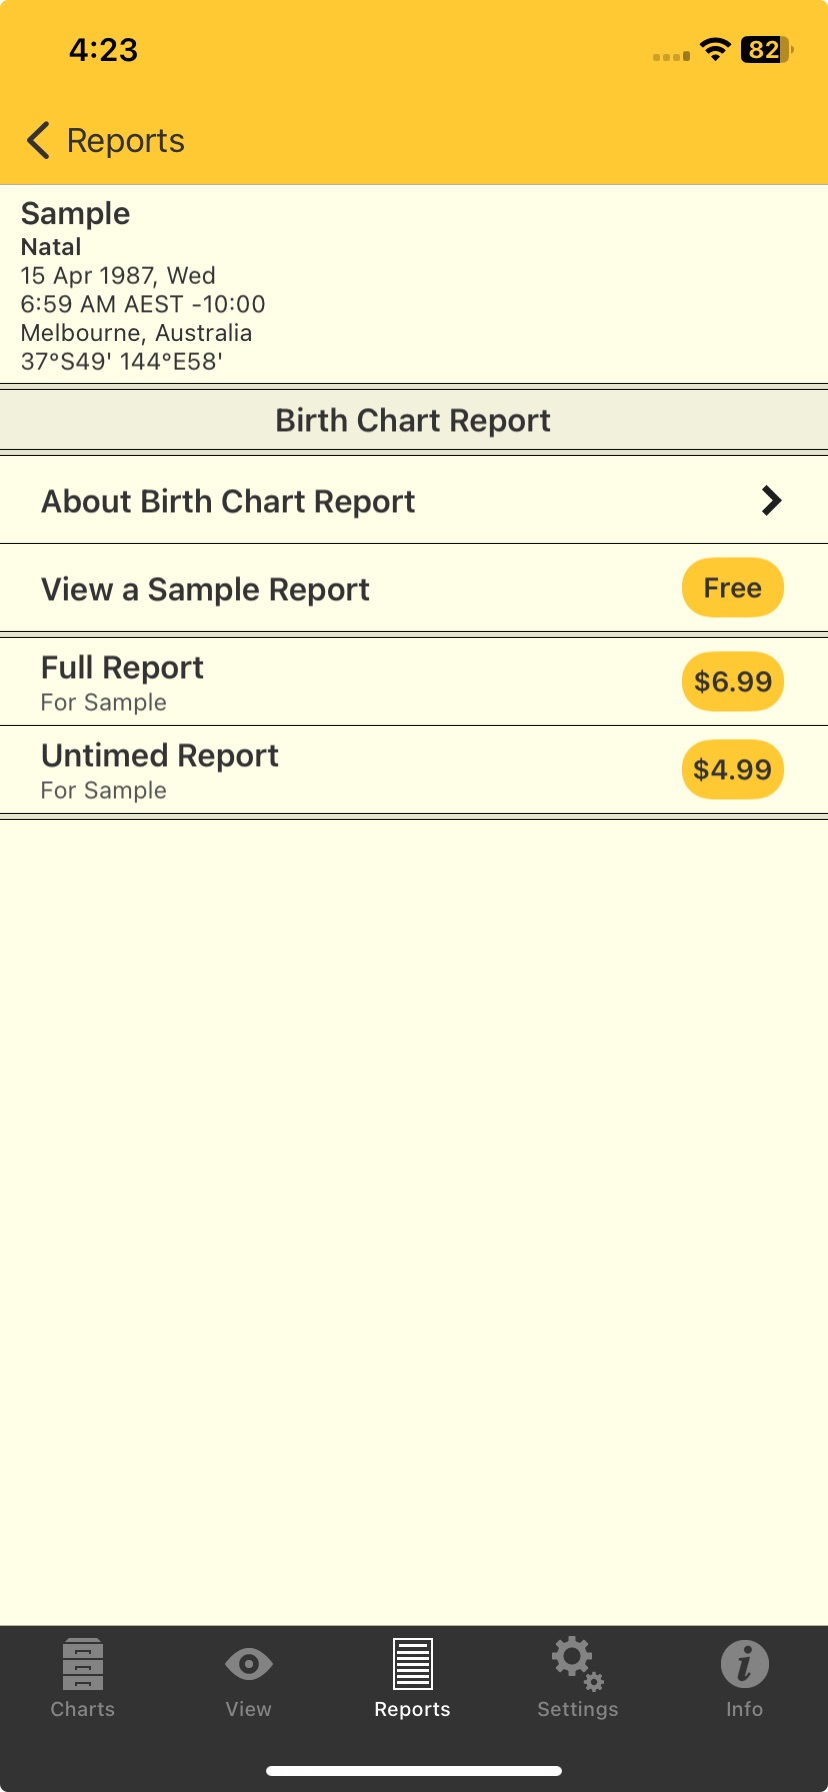 |
a)About Birth Chart Report
Tap on the > to the right to display a screen which describes what a birth chart report is and the various things it covers. Swipe up and down to see all the pages.
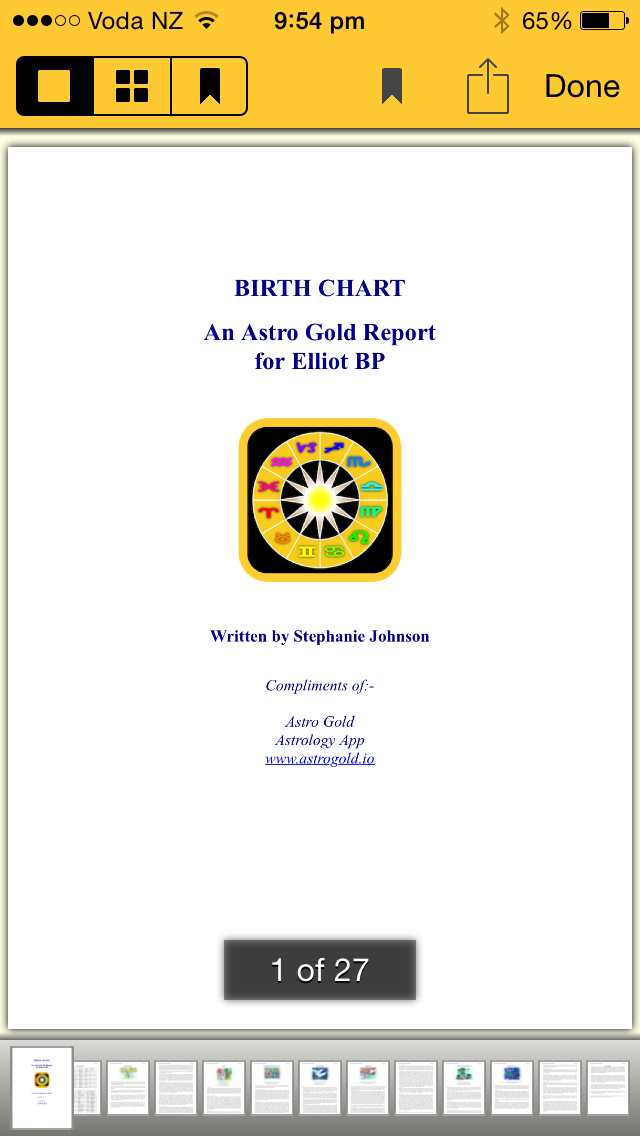
b)View a Sample Report
Tap on the yellow button to the right labeled Free to display a full sample report.
•At the beginning of the report is a wheel with the chart in it, then planetary data for the chart and the chart aspects, followed by the actual interpretation information.
•Navigate through the pages by tapping on individual page icons at the bottom of the report.
•You can also swipe left or right on a page to move back a page or forward a page. When you do this the Page Layout icons, Bookmark icon and "Done" button at the top of the screen will disappear, as well as the individual page icons at the bottom of the screen. This is to make the screen less cluttered while you are swiping through the report. Tapping anywhere above or below the pages of the report causes the icons and button to all reappear again.
•Once you have read the report tap the Done button in the Toolbar (top right of the screen) to return to the "Birth Chart Report" screen.
•To return to the Professional Reports menu tap the < Reports button in the top left of the screen.
c)View a Full Report
Tap on the yellow button to the right labeled with $ Amount the report costs to display the report. You will have to pay for the report. It functions just like the sample report.
 |
d)View an Untimed Report
Use this report is for charts which do not have an accurate birth time. Tap on the yellow button to the right labeled with $ Amount the report costs to display the report. You will have to pay for the report. It functions identically to the Sample report above.
3.Child Report
This displays the "Child Report" screen. The options available and report itself function just the same as the Birth Chart options and report.
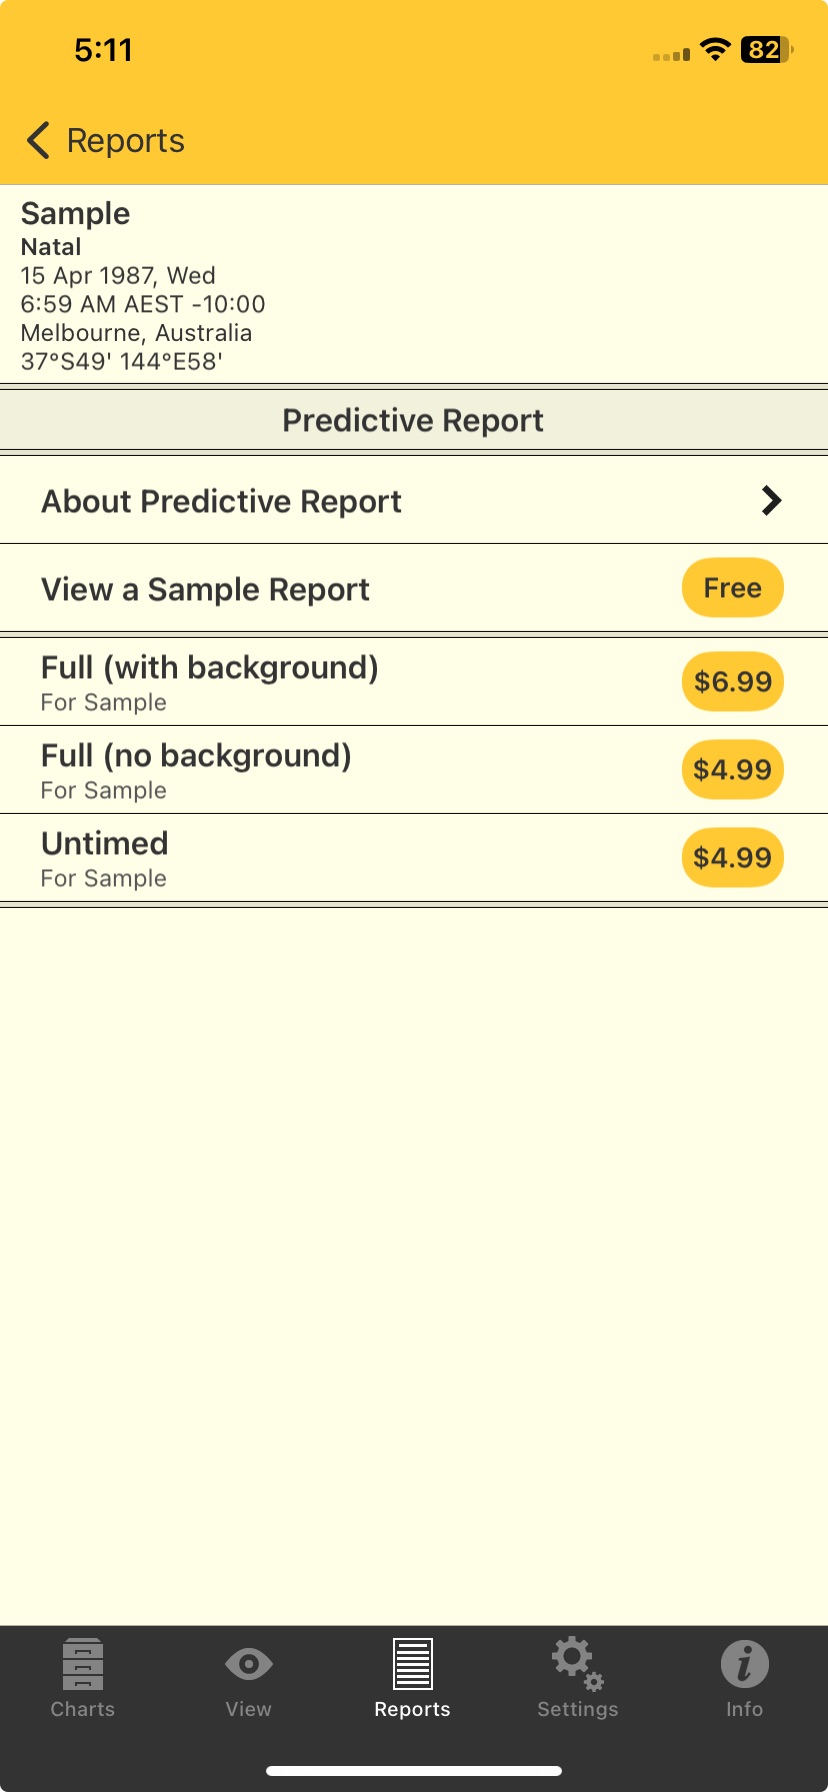
4.Predictive Report
This displays the "Predictive Report" screen, with the following options. These options, and the report itself, function just the same as the Birth Chart options and report.
The option "with background" means the report will have information on all the transits currently active at the beginning of the report, as well as the transits that will arise during the time-span of the report. The option "no background" means the report will only have information about transits that will arise during the time-span of the report.
 |
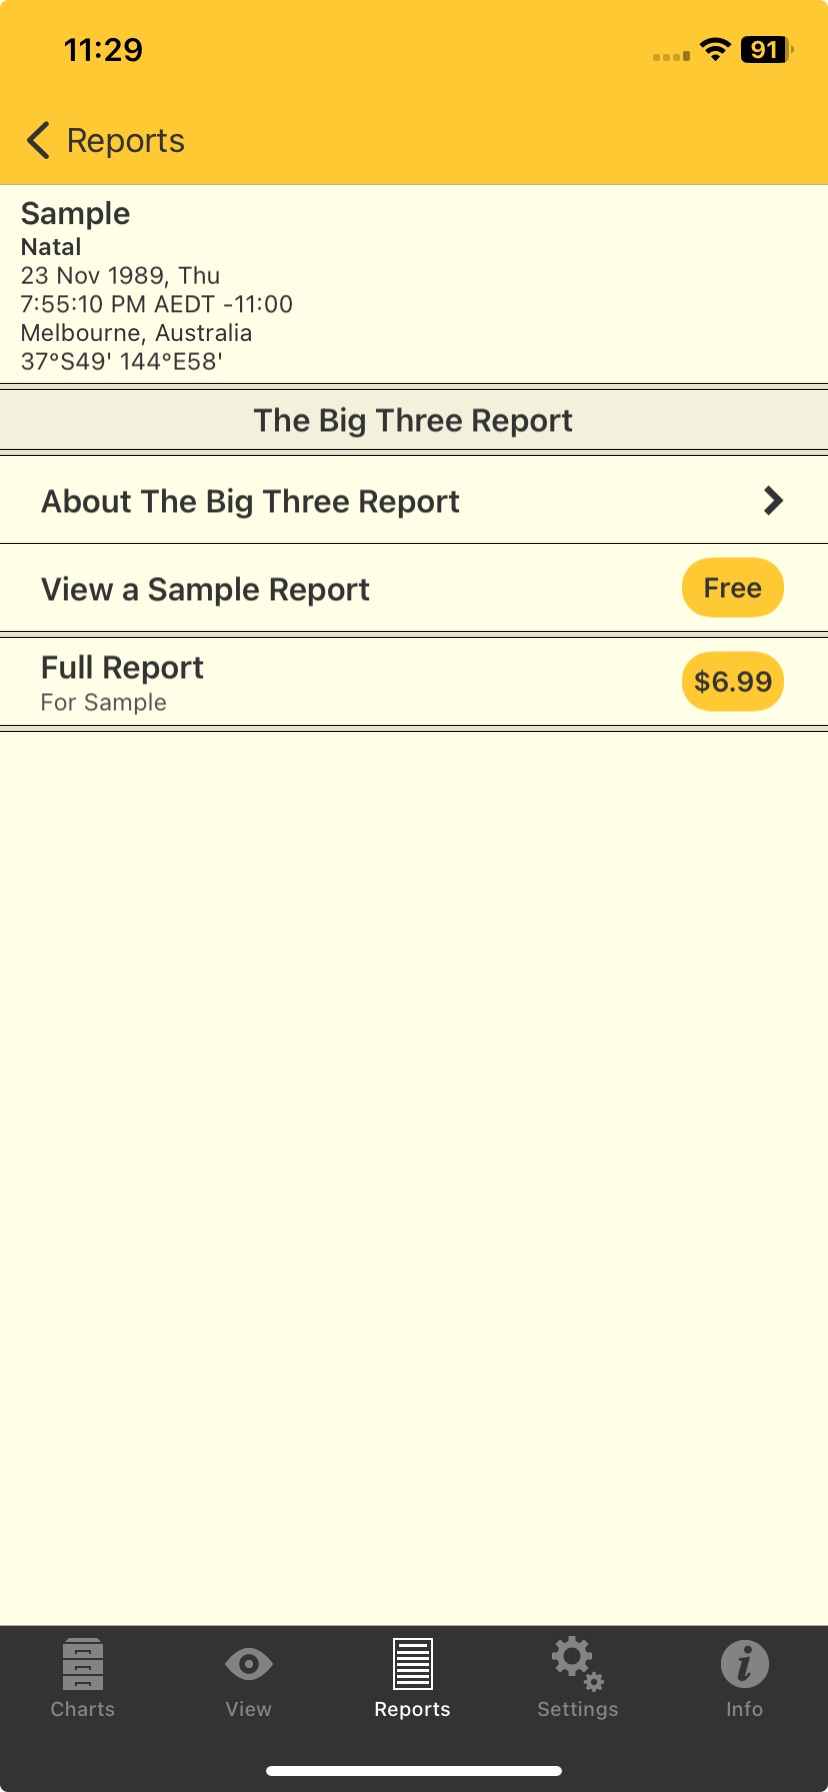
5.The Big Three Report
This displays "The Big Three Report" screen, with the following options. These options, and the report itself, function just the same as the Birth Chart options and report (except there no "untimed option").
 |
6.Birthday Report
A birthday report is a Solar Return report. For this kind of report Chart 1 must be a Solar Return type of chart. See Subsidiary Charts for how to create a Solar Return chart.
This displays the "Birthday Report" screen, with options and the report itself functioning just the same as the Birth Chart options and report (except there is no "untimed" option).
7.Lunar Return Report
A birthday report is a Solar Return report. For this kind of report Chart 1 must be a Solar Return type of chart. See Subsidiary Charts for how to create a Solar Return chart.
This displays the "Birthday Report" screen, with options and the report itself functioning just the same as the Birth Chart options and report (except there is no "untimed" option).
8.My Pet Report
This displays the "My Pet Report" screen, with options and the report itself functioning just the same as the Birth Chart options and report (except there is no "untimed" option).
For this report to be available there needs to be 2 charts selected in the "Selected Charts" screen. Additionally, for the interpretations to be meaningful both charts need to be natal charts in the "Chart 1" and "Chart 2" positions.
This displays the "Relationship Report" screen, with options and the report itself functioning just the same as the Birth Chart options and report (except there is no "untimed" option).
a)About Relationship Report
➢ Tap on the > to the right of the "About Relationship Report" to display a screen which describes what a relationship report is and the various things it covers. Swipe up and down to see all the pages.
 |
b)View a Sample (relationship) Report
➢ Tap on the yellow button to the right labeled Free to display a sample Relationship report.
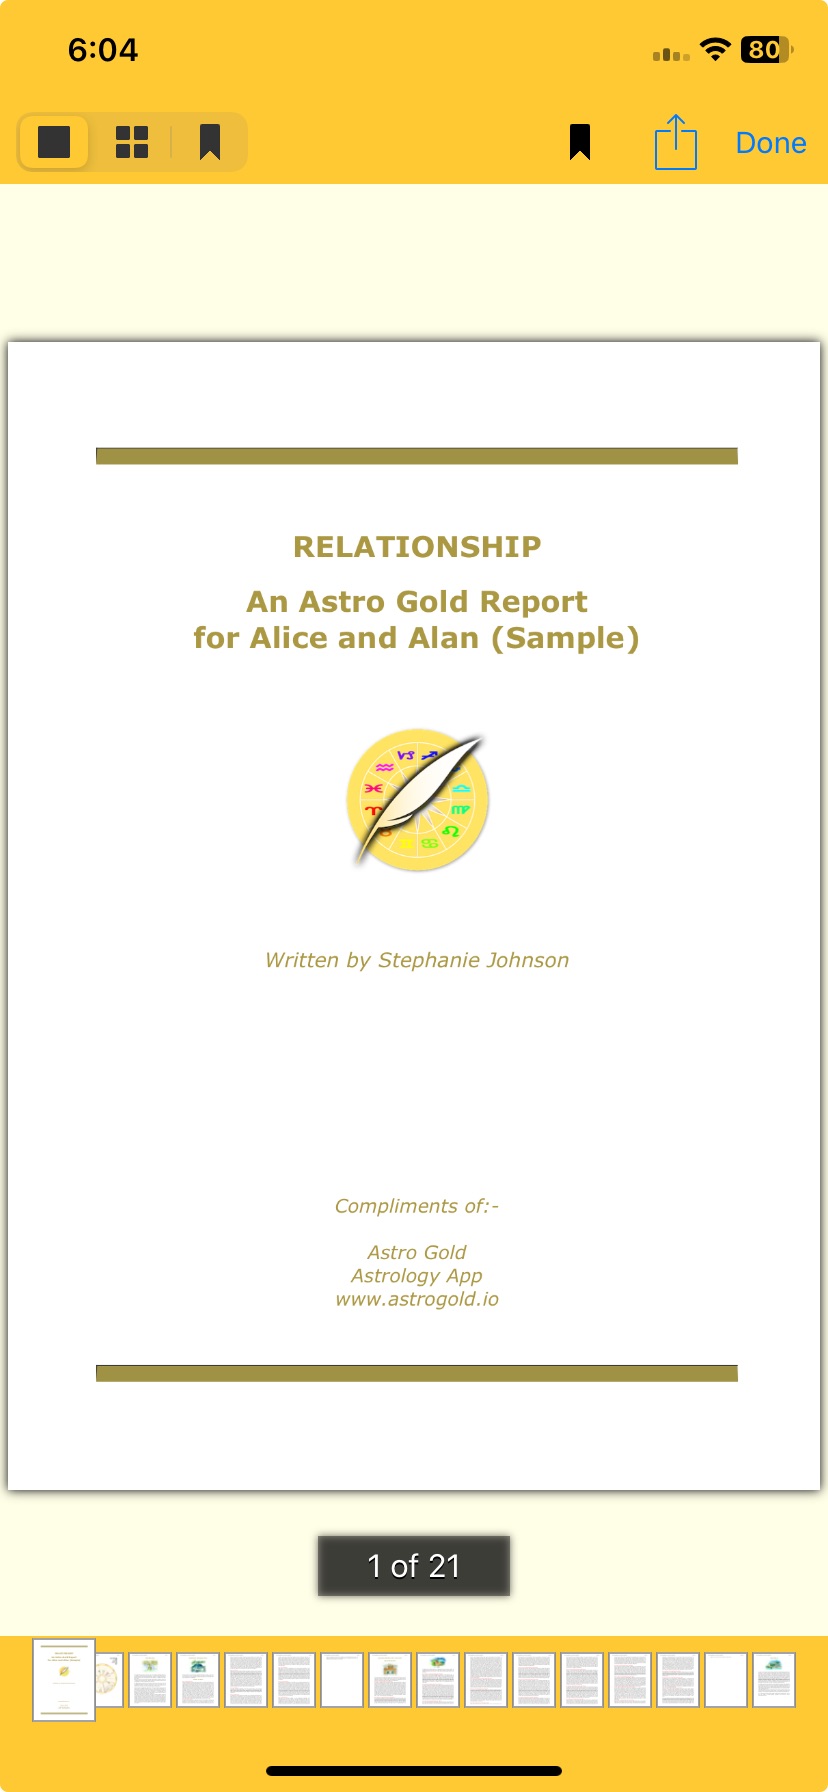 |
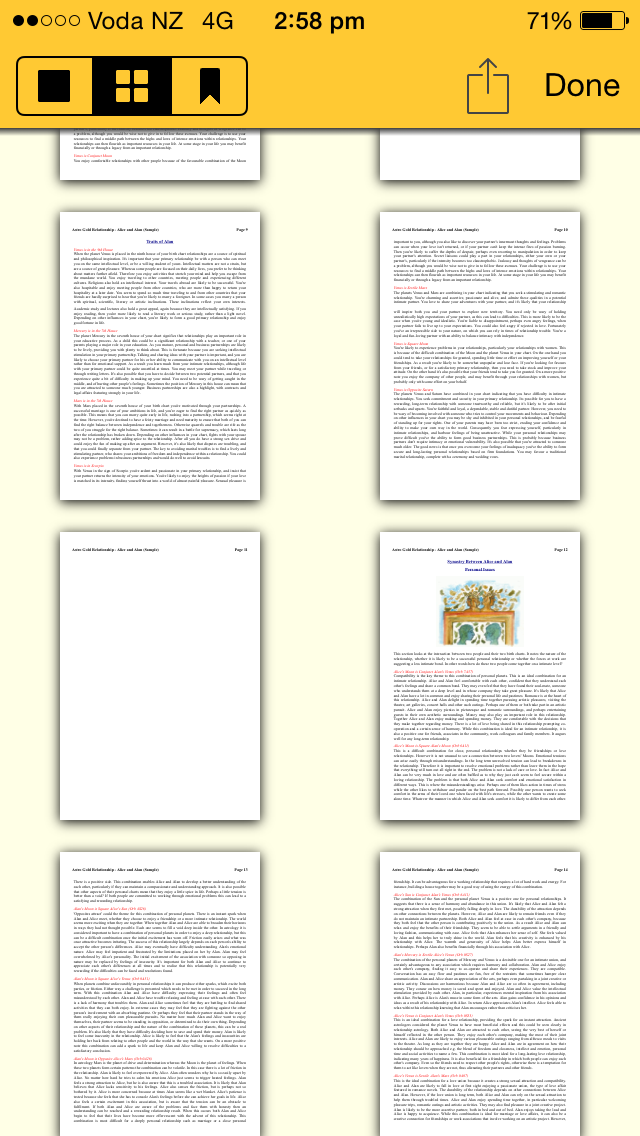
•At the beginning of the report is a biWheel showing both charts, then planetary data for each chart and synastry aspects between the charts, followed by the actual interpretation information.
•Navigate through the pages by tapping on individual page icons at the bottom of the report.
•You can also swipe left or right on a page to move back a page or forward a page. The page you are on is enlarged in the set of page icons at the bottom of the screen.
•Once you have read the report tap the Done button in the top right of the screen to return to the "Relationship Report" menu.
•To return to the Professional Reports menu tap the < Reports button in the top left of the screen.
c)View a Full Report
➢ Tap on the yellow button to the right labeled with $ Amount the report costs to display the report. You will have to pay for the report. It functions just like the sample report.
Once you have viewed a report it is automatically saved. Tapping on "My Saved Reports", or on the > to the right of the report, displays the "Saved" screen where you can view those saved reports. The "Saved Reports" work identically to the original reports they have been saved from.
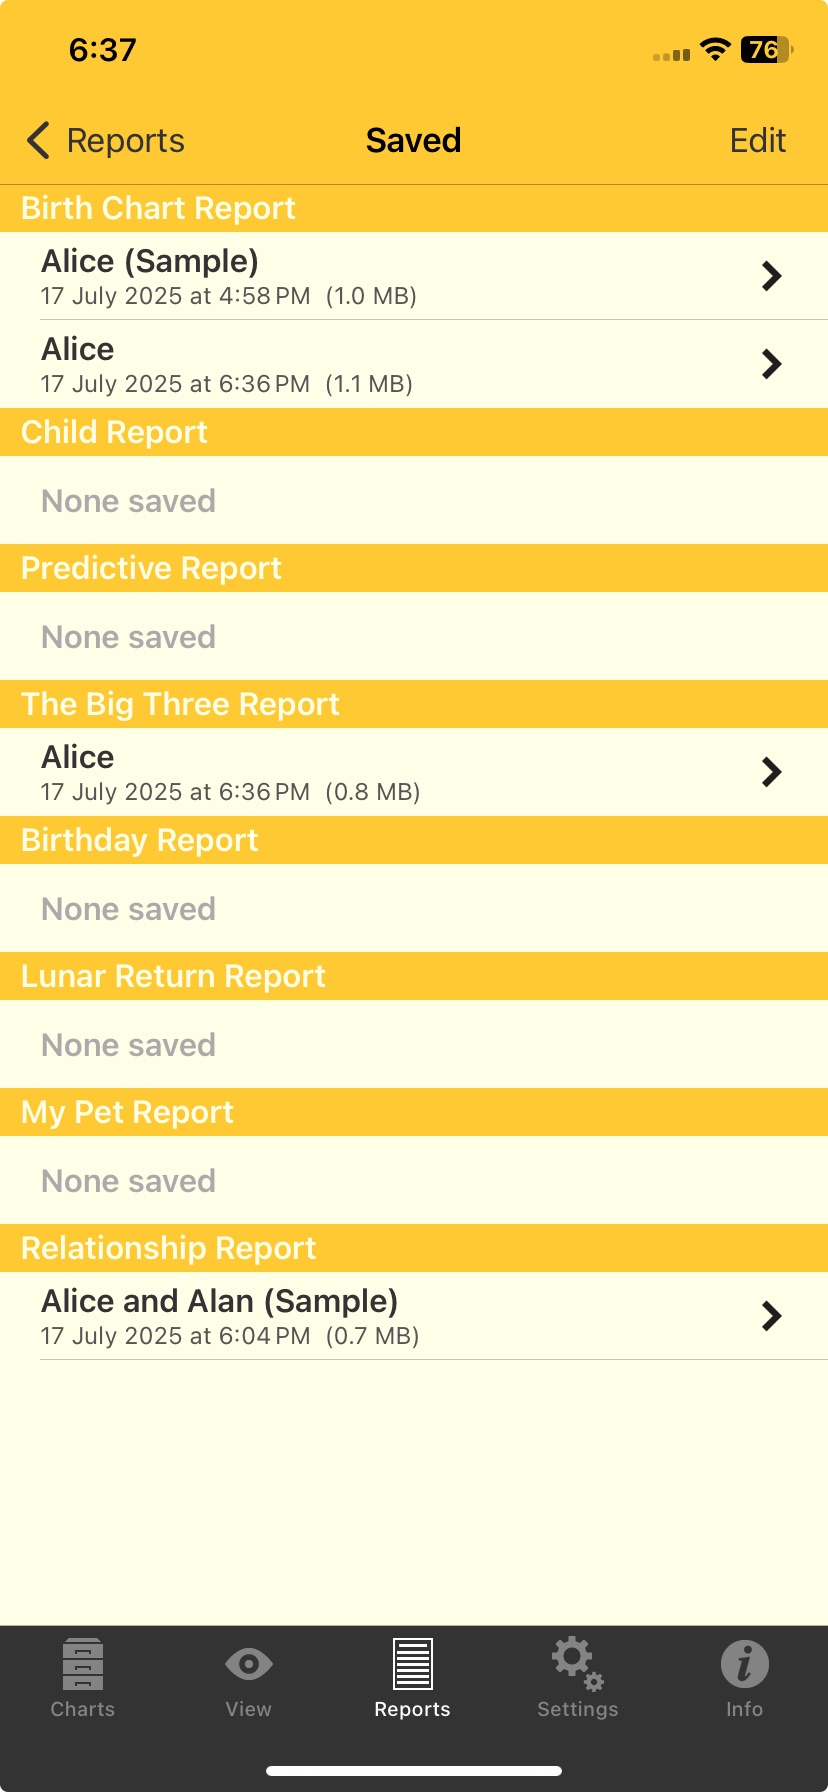 |
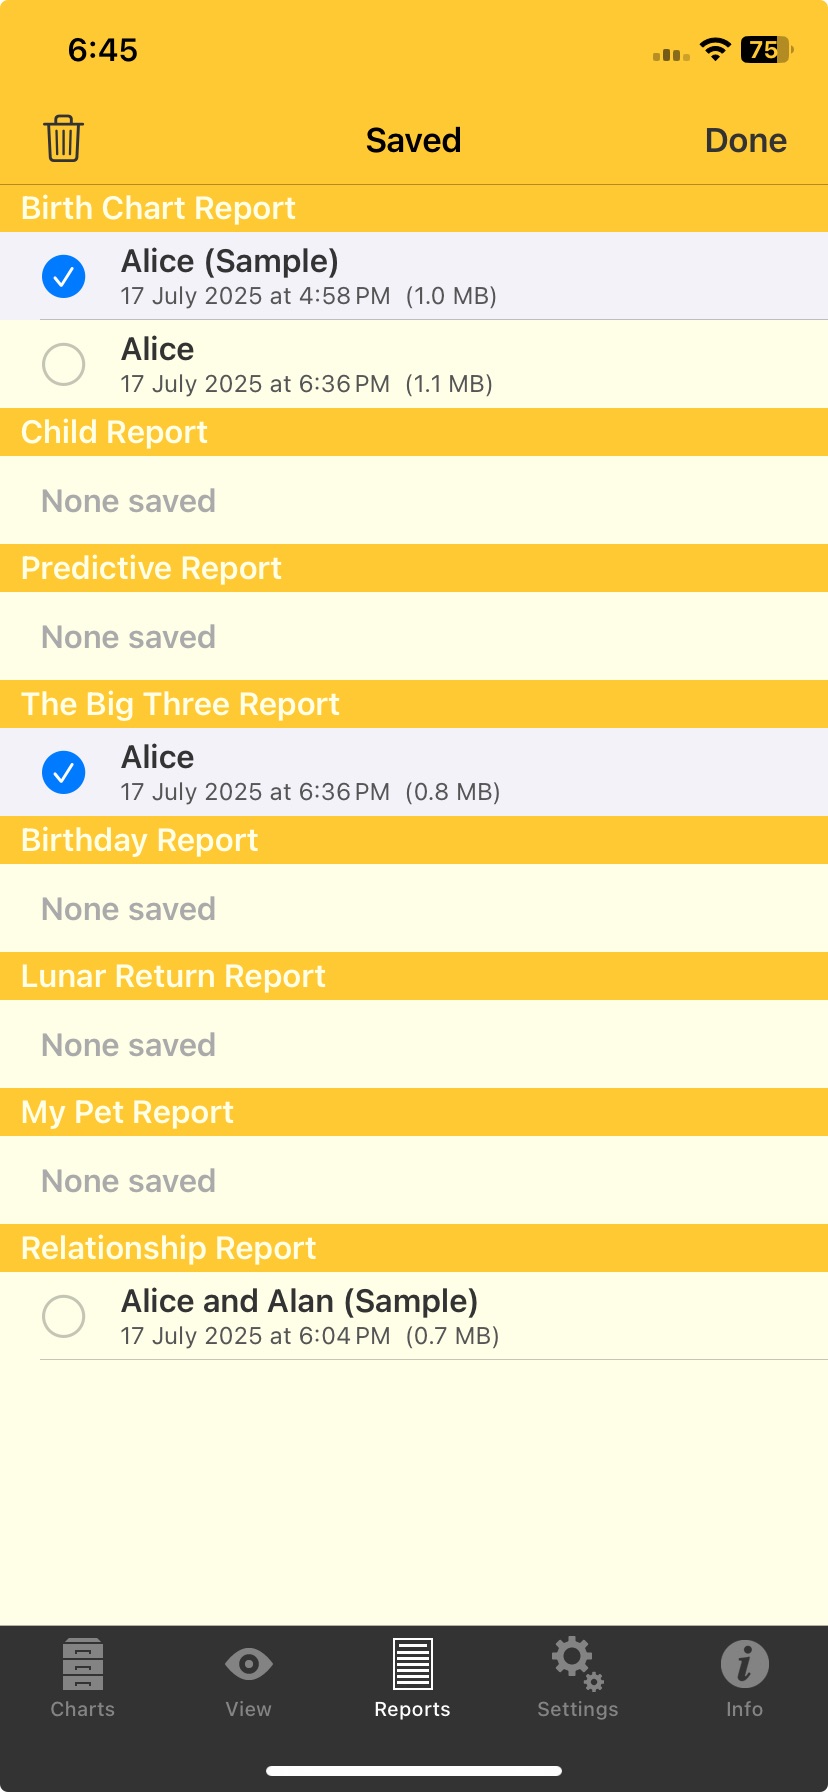
1.Tap on the Edit button in the top left of the screen, which puts the saved reports in editing mode with an empty circle  next to each report.
|
2.Tap on the circle next to the report you want to delete so that it looks like this  , and then tap on the Rubbish Bin icon
  which removes the report from the Saved Reports list.
3.When you are finished deleting reports tap the Done button in the Toolbar (top right of the screen) to take the Saved reports out of editing mode.
 |
Professional Reports can be laid out differently on the screen. This is determined by the Layout mode icons at the top of the screen when a report is being displayed.
 |
The three layout modes are:
•Single Page layout (Full page view) - in the three icon group on the left, tap the leftmost icon - a large square.
•Multi-page layout (Thumbnails) - in the three button icon on the left, tap the middle icon - four small squares.
This displays all the pages as thumbnails - tapping on a page thumbnail changes the mode into Single Page layout for that page
 |
•Bookmarked Pages layout (Like Multi-page layout but showing only bookmarked pages) - in the three icon group on the left, tap the rightmost icon  .
.
When you tap this only pages that have previously been bookmarked are displayed.
To bookmark a page, you tap on the standalone Bookmark icon which appears to the left of the Action icon  when browsing the report in single page mode. When you tap it, it goes blue to indicate that this page is now bookmarked. To un-bookmark a page display it full size by tapping on it in the multi-page or bookmarked layouts, then tap on the (blue) Bookmark icon again, and it will turn the icon black to indicate the page is no longer bookmarked.
>> Emailing or Printing Professional Reports
➢ Tap on the Action icon above the report. See Share & Print for information on the functions in this menu.