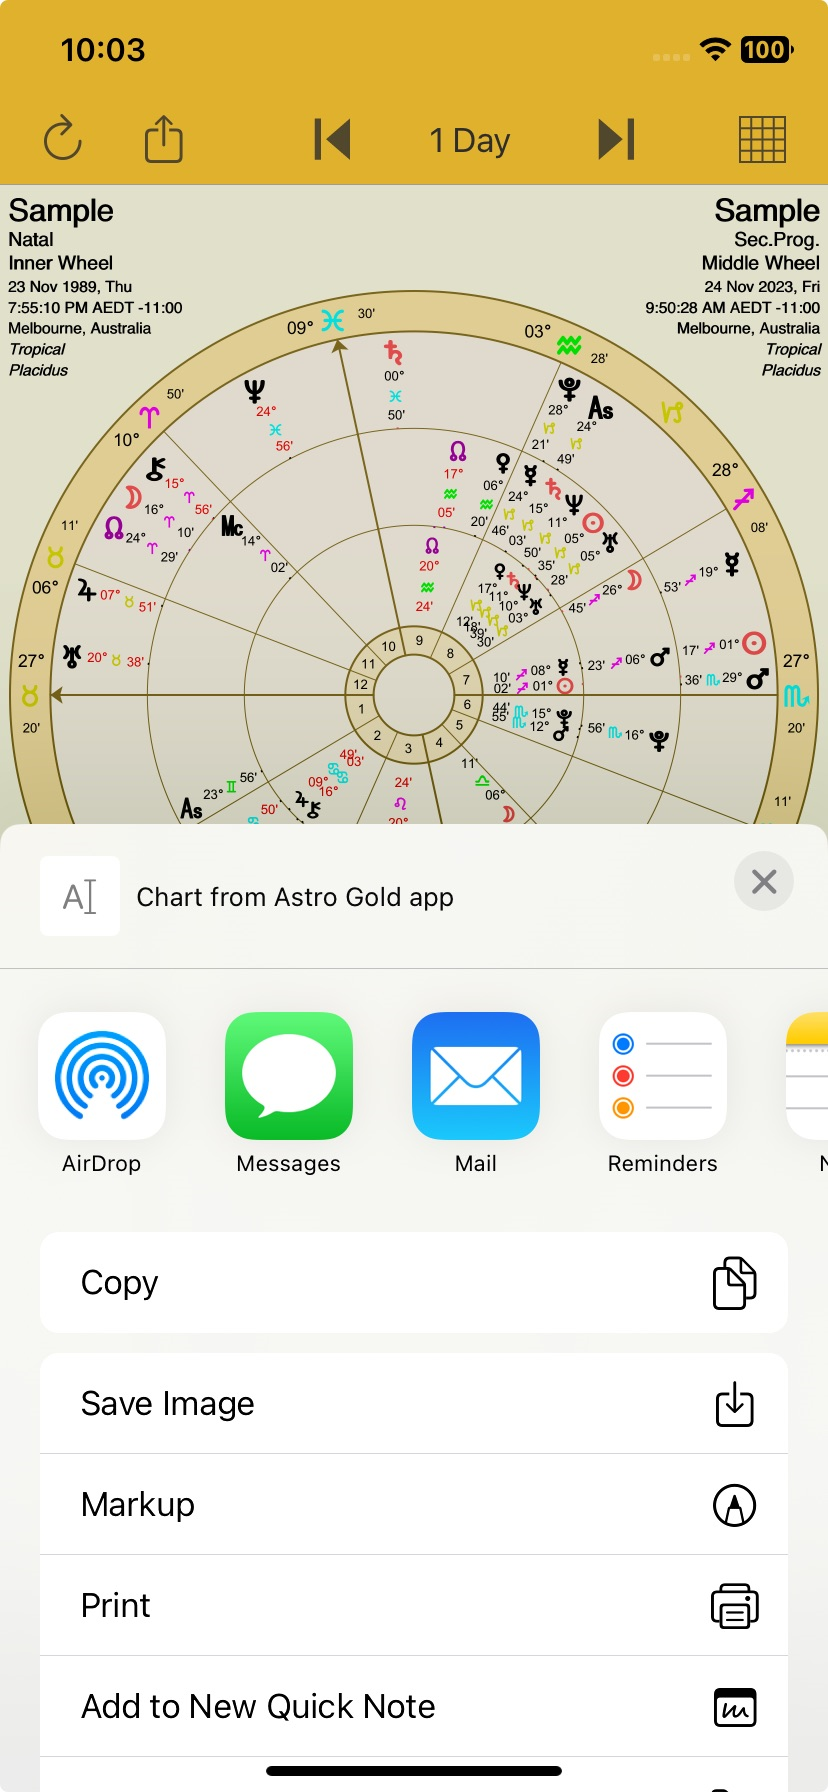
In the View Screen tap the Action icon in the Toolbar to open the "Share & Print" menu.
 |
1.Tap on the Print button which opens the "Printer Options" dialog box.
2.If your printer isn't already selected you will be prompted to select it. Tap on No Printer Selected > and AstroGold will search for all available AirPrint (wireless) printers. Then tap on the printer you want to use to select it and it will show to the right of the "Printer" button. If a printer has already been selected, to change the printer you want to use tap on the Printer button (on the left), and select a printer.
3.Set the number of copies to print by tapping on either the + or – icons. The number of copies that will be printed is displayed to the left of these icons.
4.The current printing options in effect for the selected printer are displayed underneath the copies to be printed. If you want change these options tap directly on the various settings to do so - toggle on/off switch, paper size, orientation type, scaling% (+/-). For Media & Quality and Layout, tap on the > icon to the right of these options to set them.
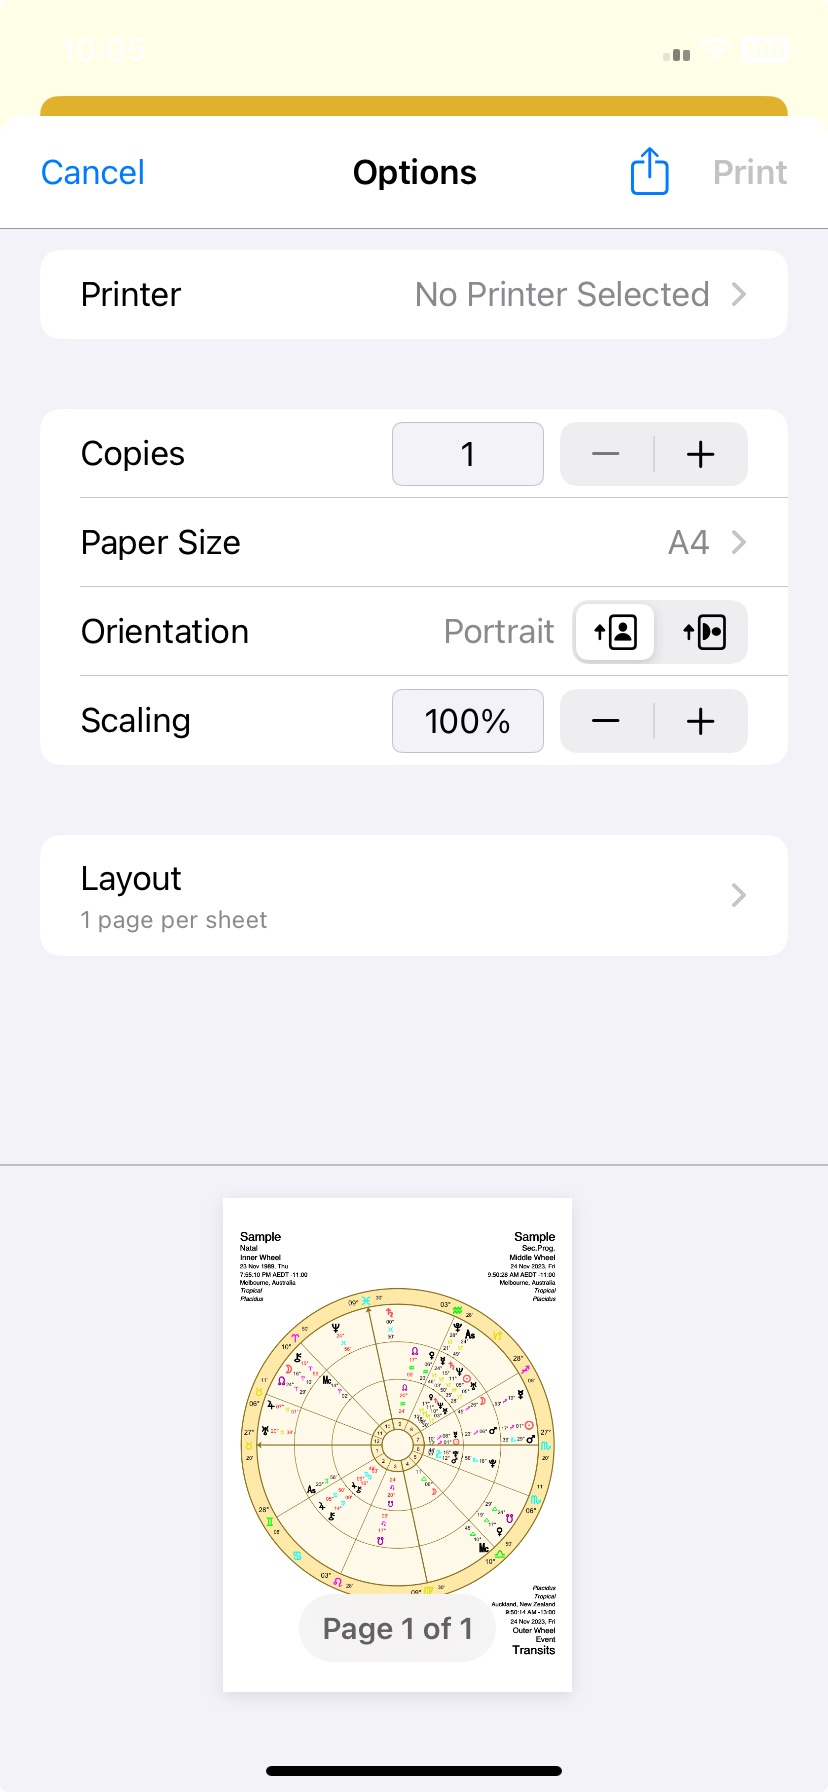 |
5.When you're ready to print the chart or grid tap on the Print button in the toolbar (top right).
6.If you want to quit this pane without printing anything tap on the Cancel icon in the toolbar (top left).
1.Tap on the Mail icon. This opens a new email with the currently displayed chart or grid already attached.
2.Fill in the "To:" field with the email address you want to send it to. As you are typing a list may pop up with the email address in it. If so and it's the email address you want to use tap on the email address and it will be entered into the "To:" field for you. Optionally tap on the Contacts  icon. This will open a screen of all your contacts with email addresses. Tap on one to select it, and it will be entered for you in the "To:" field.
 |
1.You can change the subject, and add message text to the email in the normal fashion - by typing text in the message body area above the chart.
2.Once you've added the recipient(s) plus any text you may want to include, tap the send icon  in the Toolbar to send the email.
3.Or - to not send the email at the current time, or at all, tap the Cancel button in the toolbar (top left). Then tap on either the Delete Draft button if you want to scrap the email, or the Save Draft button to send it later (optionally editing it beforehand).
Copy
1.Tap on the Copy button to copy the currently displayed chart or grid to memory.
2.You can then paste it into any other app that allows images to be pasted into them.
Save Image
1.Tapping on this will save the currently displayed chart or grid to the camera's photo roll. It will be saved in the jpeg format.
2.If you open up "Photos" you will see all your charts or grids stored either in the Camera Roll album or under the current date. You can now do anything to these charts or grids that you can normally do to a photo.